Trezor Wallet – Let’s Secure Your Crypto Journey
Thank you for choosing Trezor Wallet, the original hardware wallet that keeps your digital assets safe offline. Whether you're new to crypto or an experienced user, Trezor.io/start is your trusted starting point for setting up and using your Trezor device with ease and confidence.
Step 1: Verify Your Trezor Device
Before setup, ensure your Trezor came in its original, sealed packaging. Trezor devices (Model One or Model T) are never shipped with pre-installed firmware or accessories from third parties. Visit trezor.io/security for tips on verifying your device's authenticity.
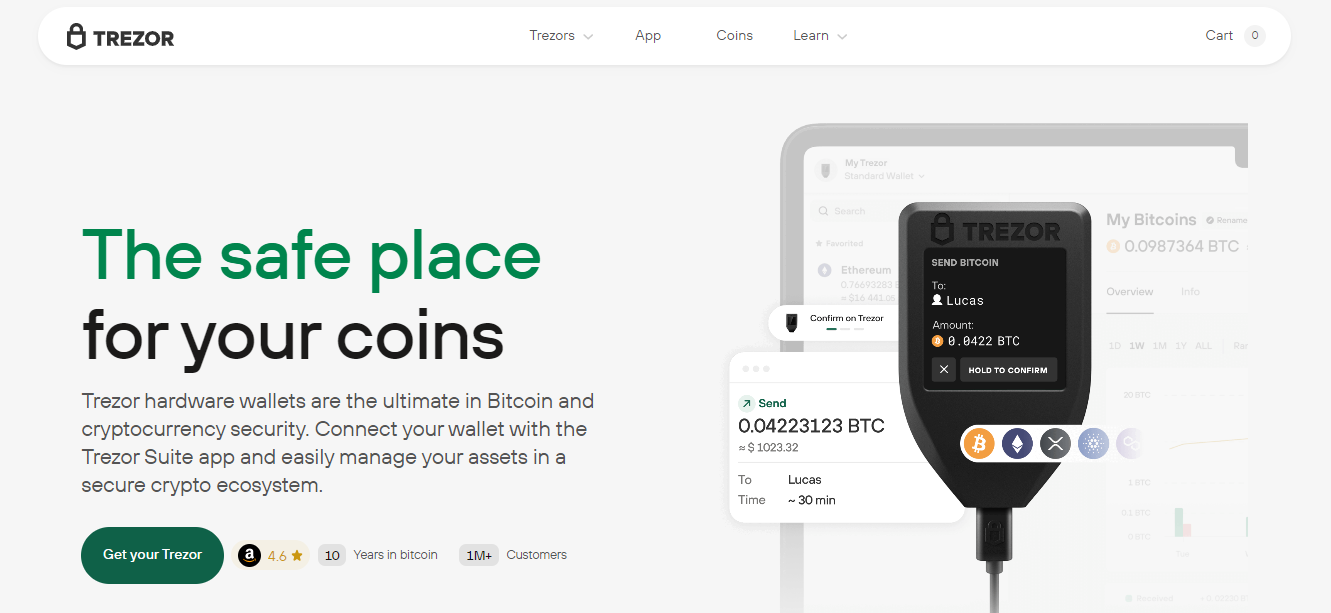
Step 2: Download Trezor Suite
Trezor Suite is the official desktop and web application to manage your crypto securely. It offers:
- Portfolio overview
- Easy-to-use interface
- Built-in security checks
- Exchange integration
Download Trezor Suite for Windows, macOS, or Linux from the official source only: 👉 trezor.io/trezor-suite
Never download Trezor Suite from unofficial websites.
Step 3: Connect and Initialize Your Trezor
Plug in your Trezor device via USB. Open Trezor Suite and follow the on-screen instructions:
- Install the latest firmware (Trezor ships without any firmware pre-installed)
- Create a new wallet or recover an existing one using your 12-, 18-, or 24-word recovery seed
- Set up a strong PIN to protect your device
Important: When you create a new wallet, your Trezor Wallet will generate a recovery seed. Write down the words in the exact order and keep them offline, in a safe place. Anyone with this seed can access your crypto.
Step 4: Start Using Your Wallet
Once initialized, you can send, receive, and manage cryptocurrencies directly through Trezor Suite. Supported coins include Bitcoin, Ethereum, Litecoin, and hundreds more.
Trezor also supports ERC-20 tokens, staking options, and third-party integrations like MetaMask, making it ideal for both long-term holders and active users.
Tips for Security and Privacy
- Never share your recovery seed or PIN with anyone.
- Trezor employees will never ask for your recovery words.
- Use passphrase protection for added security (optional advanced feature).
- Keep your Trezor firmware up to date through Trezor Suite.
Need Help?
If you encounter issues or have questions, visit trezor.io/support for FAQs, troubleshooting, and contacting our support team. For video tutorials, check out our official YouTube channel.
Made in Typedream